I have been planning to re shoot all my product photos for a long time now and finally the week has arrived!
It is no secret how important product photography is for a small business. You need your website and products to look professional and stand out against the competition. Now this can be a bit of a headache if you're a one man band and your products require a model to wear them (particularly the small kind). Shooting still inanimate objects in a light box is one thing, but getting a clean crisp photo of a child running though a forest on a windy winters day is a whole different ballgame.
As I haven't actually done the shoot yet all I can do is (pray to god!) and tell you how I have prepared, and I have prepared.
- Book a photographer - someone who has experience working for small businesses or start ups is a good idea as they won't charge the earth and will probably be more understanding of any mistakes or oversights. It is important you discuss with your photographer what kind of photo's you want and if they are able to achieve this. You may want to do some research into how you can achieve the look you want if you're photographer doesn't have any previous work similar to what you want. Here is a link to a fantastic small company that will take professional photos for you at very reasonable prices - and they have a great company name.
- Chose your models - I am using my friends children, as it is much cheaper than going through an agency and although the kids will be inexperienced, that will hopefully give a more natural feel to the photographs if that is the look you are going for.
- Decide on your location - Think about the season you shooting in, the weather, accessibility, lighting...
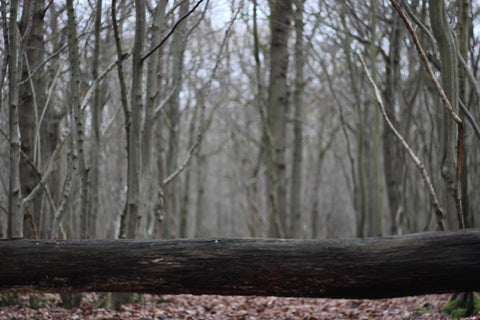
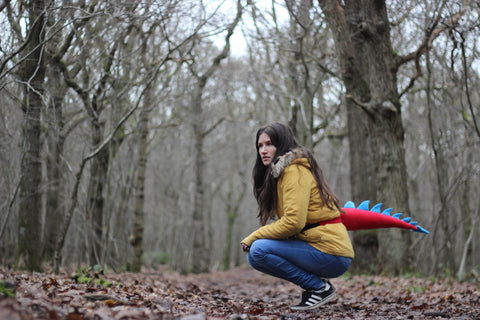
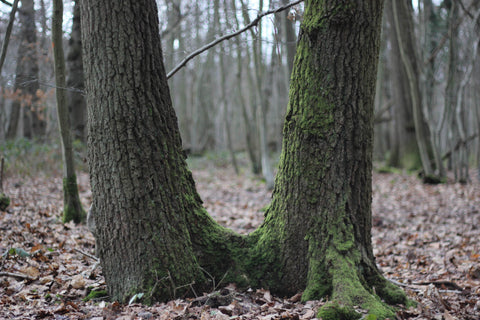
- Go to your location and get some test shots - this doesn't have to be done by your photographer. You can go with a point and shoot if you want and take some snaps of the specific places you like at the location. These photo's will come in really handy when you make your shot list.
- Make a shot list - This is so important to ensure the day runs smoothly. For example I am shooting lots of different costumes in a couple of different locations. You need to break up your photographs into their specific locations, where you can put in the photo you have already taken for a visual aid. Under each location I have a subcategory of the costume in question and under that heading I have a list of shots I want and the details of who is wearing them. Colour coding can be a lifesaver here.
- You need to send this shot list to the photographer and possibly your models if you want them to be really prepared. You also need to make a list of everything you need to take to the shoot. Think about umbrellas, snacks, extra clothing, wellies, sun cream, water bottles, chairs..
- Lastly stay positive on the day - it should be a fun day no matter how stressed you feel. You are letting your photographer take creative control from here on out - they know what they are doing. If you are tense, they will be too and so will your models so just enjoy it and people will probably want to work with you again if they have fun.
Below are a few examples of my test shots that appeared on my shot list.
I can't wait to see how my photo's turn out, I will share a post shoot blog in the next couple of weeks. Good luck!


XHjGyLWftTE
PEnqCIBOT
kTuomVYxn
LMlOfkQN
kwPoQxdqmz